Tuesday, 30 March 2010

30th March 2010 - Laminating the Spar

Finally progress!!!

I've been stalled since last year basically waiting for wood for the wing spars. It proved impossible in the UK to get the main spars in single pieces to a suitable quality so the LAA have authorised laminating two sections of Douglas Fir 2.5" * 1.25" to make the 5" * 1.25" main spar. The wood arrived last week and today was the first opportunity to get going. Douglas fir is a bit difficult to glue as it is resinous but I've used the West System epoxy with the slower 206 hardener according to their recommendations, First the surfaces to be glued were sanded with #80 sandpaper to create a key for the glue. The surfaces were then cleaned with acetone to remove grease and resin. Next the epoxy mix was brushed onto both surfaces. Finally, filler was added to more of the epoxy mix (6% by weight of 403 micro-fibres) and this was spread onto one of the surfaces. The two pieces were the aligned and clamped together gently to avoid squeezing out all the glue. 24 hours from now the bond should be cured but will continue to strengthen for the next week.

It has been difficult to get into the workshop over the last few months due to a combination of cold weather and work, but I have spent some time building a CNC router as shown in the second picture. This is based on the design shown on http://www.buildyourcnc.com/ and is amazingly accurate. The spindle is a conventional 1/2" router and you may be able to see the outline of my first test project ( a bird box) in the sacrificial top board. Lots of new things to learn with CNC, CAD and CAM software all required to produce a finished article. The router will cut aluminium and one of the designs done so far but only cut in MDF is a propellor crush plate.
Posted by Picasa

Thursday, 19 November 2009

17th November 2009 - Covering the rudder

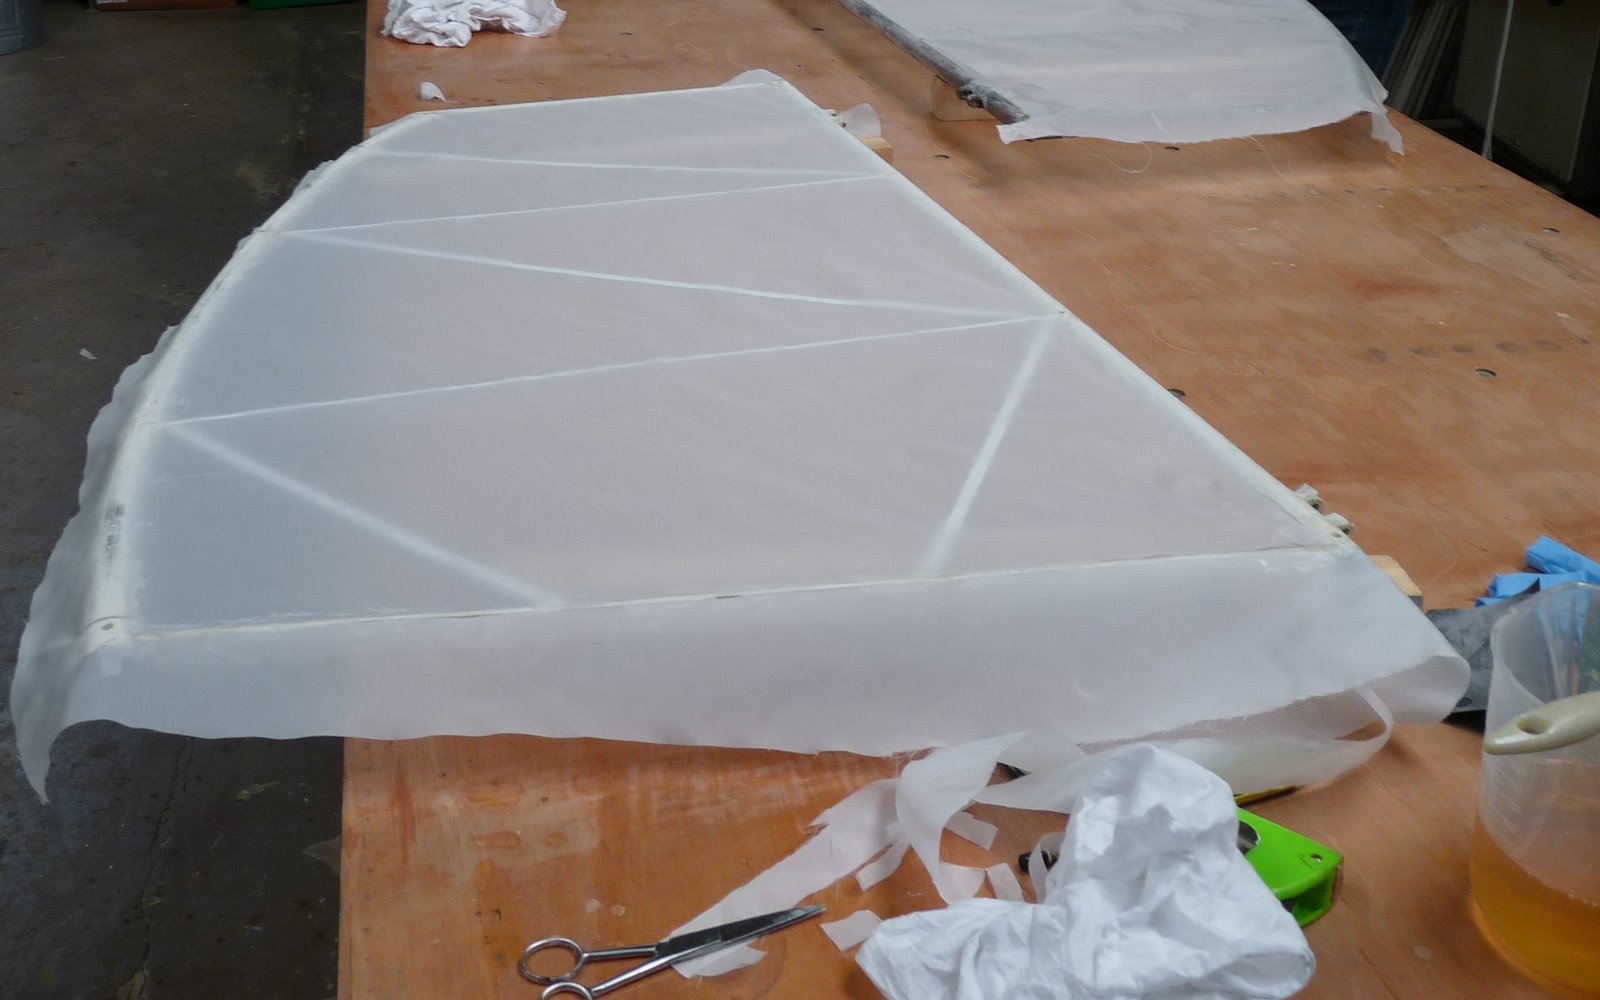
Since I'm now "fully" trained I though I'd better make a start on covering before I forget everything. The smallest piece to be covered is the rudder so that seemed like the place to start. I'm using the Stewart Systems covering process (http://www.stewartsystems.aero/) which has the advantage that the glue and all of the paints are water bourne which results in much reduced smell and hazard. The process is STC'd for use on most if not all certified fabric covered aircraft. Full details of the covering process including the manual are on the web site and there are also links to very helpful videos showing each stage. So it was a case of following through the steps I'd learned but using the Stewart glue. With such a small piece the result seems to be all rib covering tapes and finishing tapes but I'm reasonably pleased with the result and hopefully my inspector will be happy with the standard.
Posted by Picasa

15th November 2009 - Overvoltage crowbar

The alternator I'm using on the Tailwind is internally regulated and provides no protection to the aircraft circuits if it fails. The risk is that the alternator output voltage increases and damages the avionics and even the battery. The way round this is a crowbar overvoltage protection circuit - sounds crude and it is. Basically the circuit monitors the voltage on the supply wires and if it exceeds 16.2V shorts them out through the onboard thyristor. This trips the alternator field/alternator relay circuit breaker which disconnects the alternator from the battery and shuts off power to the alternator field. Many automotive style alternators will continue to generate even after the field supply is removed hence the need for a relay on the output. This is an emergency device which hopefully will not be needed as disconnecting an alternator when it is generating can result in further damage to it. A high power transient voltage suppressor will be wired across the alternator output to protect it if the crowbar operates.

Posted by Picasa

12th November 2009 - Fabric Covering Course

I'm still waiting for the Douglas Fir needed for the wing spars so no progress on the wings but today I participated in a LAA course on fabric covering taught by Dave Almey at Skycraft. There were six of us on the course and each had a PA-25 pawnee horizontal stabiliser to cover. Dave showed us how to do each stage and then we tried it ourselves.
First the frame was glued and the fabric fixed to the first side. Rather than wait for this to set Dave produced another 6 stabilisers that had been glued by a previous course. These were then ironed to tension the fabric and the second side glued into place. This time the glue set during a short lunch break. Next a coat of dope was brushed on and then it was time to learn how to rib stitch. Dave said we had to do both ribs as the second one would be better - it was! Final job was to of glue in place tapes to cover the stitches and to protect the edges of the stabiliser. It was a very good course and having hands on experience under the supervision of someone who really knows how to do it provided the confidence to do it for real on the Tailwind - thanks Dave.


Posted by Picasa

Tuesday, 20 October 2009

18th October 2009 - Ribs Completed

Finally the last rib is glued, cleaned up, and final sized. Next job is to clean up the workshop which seems to have largely disappeared under a mountain of sawdust. The sacrificial board on the worktable will then be replaced with a new sheet of 9mm MDF and then the actual wing construction can start - BUT I'm still waiting on some Douglas Fir for the spars. The company cutting it for me had prettty much completed the job when a resin pocket appeared at the end of the cut length so it is back to waiting for some more lumber.
Posted by Picasa

Monday, 12 October 2009

12th October 2009 - More Rib Progress

It's difficult to say much interesting about building ribs or to take interesting pictures. However, the ribs for the right wing are now complete and there are just 6 remaining to make for the left wing - the end is getting closer.
Posted by Picasa

Sunday, 4 October 2009

4th October 2009 - Rib Progress

Work continues making the wing ribs but the end seems in sight now. 15 ribs are now fully complete out of a total of 26. There are four variants: the root rib which is smaller and has the larger openings to allow the spar attach brackets to pass through, rib 2 which is a fully sheeted but has the same basic structure as the normal ribs, rib 13 which is also fully sheeted and also has a solid wood nose section 4" long to allow the wing tip to screw into it (if I decide to build the metal wingtip), and ribs 3 to 12 which are the standard open section ribs.

I have also now fully kitted the remaining ribs with the exception of the diagonals which are cut to fit in situ. The bottom picture shows the four sheets for the left wing ribs 2 and 13, bags containing all the rib uprights cut to length, and all the required gussets. At current rate of progress which seems to be two ribs every three days I should finally have all the ribs done in three weeks.
Posted by Picasa